8 Reasons Why Kindle is Not Charging [With Solutions!]
Disclosure: This post may contain affiliate links. – meaning I may get a commission if you decide to purchase through my links, at no additional cost to you.
I am thrilled to have a Kindle as my companion. I carry it along with me all the time. It entertains me and it acts as a stressbuster in my time of need!
But I got really worried recently when my Kindle would not charge! So I did a little digging, and here’s what I found out!
The most common reason why a Kindle doesn’t charge is due to a faulty battery! Other reasons include problems with the power adaptor, charging cable, charging socket, or even connectivity issues with the cable and charging ports!
In this article, I will share with you a comprehensive list of some other most common reasons why Kindle does not charge. Plus, we’ll also take a look at how to fix this issue. That, and much more!
So let’s get started!
A Quick Note – If your Kindle doesn’t charge despite the steps mentioned in this article, I’d recommend purchasing this Kindle version on Amazon as you get the most value-for-money with this model!
Reasons Why Your Kindle May Not be Charging

There are several reasons why your Kindle may not be charging. From a faulty charger to an issue with the charging socket, or a faulty battery, let’s take a look at some of the most common reasons why your Kindle may refuse to charge.
Please note – I’d recommend following the order in which the following factors have been stated. Going through each factor one by one will allow you to thoroughly and completely troubleshoot the issue at hand.
1. Faulty Charger
If your Kindle is not charging, one of the first things that you should check is the charger.
You might think this is obvious, but trust me, the moment your Kindle stops charging, the first thought that you get is that something is wrong with the device and not the charger!
So, make sure that your charger is in a working condition. If possible, try to use the power adaptor on another device to see if it is working. If the other device fails to charge, then you know that the problem is the charger.
At this point, simply replace the current charger with the power adaptor of another device and see if your Kindle starts charging. If it does, it will validate the hypothesis that the charger is the problem. Now, all you need to do is purchase a new power adaptor like this Official Amazon 5W OEM Charger for your Kindle.
2. Charging Cable Gone Bad
If the power adaptor is in a working condition, the next thing that you need to check is the charging cable.
Test the charging cable in a similar manner to the way we tested the power adaptor. Having an extra USB cable that is compatible with your Kindle will make this task easier. Simply swap the charging cable with the other USB cable and see if your Kindle starts charging now.
If you notice that your Kindle starts charging at this moment, then we know the culprit is the charging cable. In such a scenario, all we need to do is replace the charging cable.
You can easily buy the Original Micro-USB Kindle Charging Cable on Amazon as a replacement. If your device has a type C USB port, then go with this Type C charging cable for your Kindle.
3. Issue with the Charging Socket
If the power adaptor and charging cable are working fine, then the last thing that you need to check before moving on to other reasons is the charging socket.
The charging socket forms an integral part of the charging assembly. Thus, even if the charging cable and the adaptor are working fine, you need to make sure that the charging socket is also functional.
If you are using some sort of charging extension, it is possible that the wall socket is functioning just fine but the charging extension has gone bad.
The bottom line is that you need to make sure that all the parts of the charging assembly are functioning properly before we begin examining the device itself.
4. Charger Not Inserting Completely
Another factor that we may need to consider is if there is a loose charging cord.
This problem is easy to miss out on. If the charging cable is not inserted correctly either in the power adaptor or in the USB charging port of your Kindle, it will fail to charge your device properly even though all parts may be functioning individually!
A common reason why this may occur is when there is too much dust or dirt in the charging port of your device. This will not allow establishing a proper connection between the USB cable and the charging port of your device; thereby preventing the device from getting charged.
An easy way to know if your device is facing this issue is to observe whether the charging cable gets inserted all the way inside the charging port of your device. If not, you may need to clean the charging port of your device.
Here is a video that shows you how to clean the charging port of your device –
Another reason why your charging cable may fail to insert all the way inside the charging port or the power adaptor is simply “wear and tear” due to normal usage over time!
If this is the problem that you are facing, there is very little you can do about this except for changing the power adaptor or the cable as recommended in the previous sections.
5. Incorrect Charging Mode
It is important to note that your Kindle will charge a lot slower when you are using your laptop or a computer USB port to charge your device.
Furthermore, if your Kindle is having issues with the battery, chances are that your device may either charge very slowly or not charge at all when using an incorrect charging mode.
If you are faced with such a scenario, try using the wall outlet and the power adaptor to see if your Kindle starts charging properly. If the Kindle still fails to charge, then continue the troubleshooting process with the other factors mentioned below.
6. Battery Charge Too Low
Sometimes, when you forget to charge your Kindle for a long period of time, the battery of the device can get too low to resuscitate the device or even start the charging process.
Unlike most modern-day smartphones, the Kindle does not automatically shut down when the battery capacity approaches a 0% charge level. This causes the battery to deplete below a certain threshold which makes it difficult to begin the charging process.
As a result, the screen of your Kindle may be stuck at a “battery symbol and an exclamation mark!”
I’ve written a detailed article explaining exactly why this happens and how to fix this issue. If this is the issue that you are facing, make sure that you check out the article by clicking on the link here.
7. Faulty Battery
Another factor to consider if your Kindle is not charging is that the battery is at fault!
Generally speaking, a Kindle battery usually lasts about 3 to 5 years or about 500 charge cycles (whichever comes first). That said, with proper charging etiquettes, the life of the battery can be extended beyond the 500 charge cycles in some cases.
Pro Tip! If your Kindle battery is affected, I highly recommend you to check out this simple, quick and an effective technique to recondition ANY dead battery and bring them back to life! This will help you increase the lifespan of old batteries, prevent buying new batteries, and save money!
If your battery has outlived its lifetime, then perhaps it is time to change the battery.
Fortunately, you can effortlessly replace the battery of your device at home within minutes with the right tools (that can be easily purchased on Amazon). What’s more, replacing your Kindle’s battery is not even expensive! It will barely cost about $20-30 and that includes the cost of the battery!
If you are ready for the challenge, check out my other article “How to Replace the Kindle Battery” where I walk you through the process in a step-by-step manner and provide you with the full guide and the necessary resources!
Be sure to check it out!
8. Problem With the Charging Port of the Kindle
If you have managed to troubleshoot all the other factors, one last thing that you may need to consider is the faulty charging port of your Kindle.
It is entirely possible that the charging port of your Kindle simply stops working either due to an overcharge, heating issue, or a short circuit.
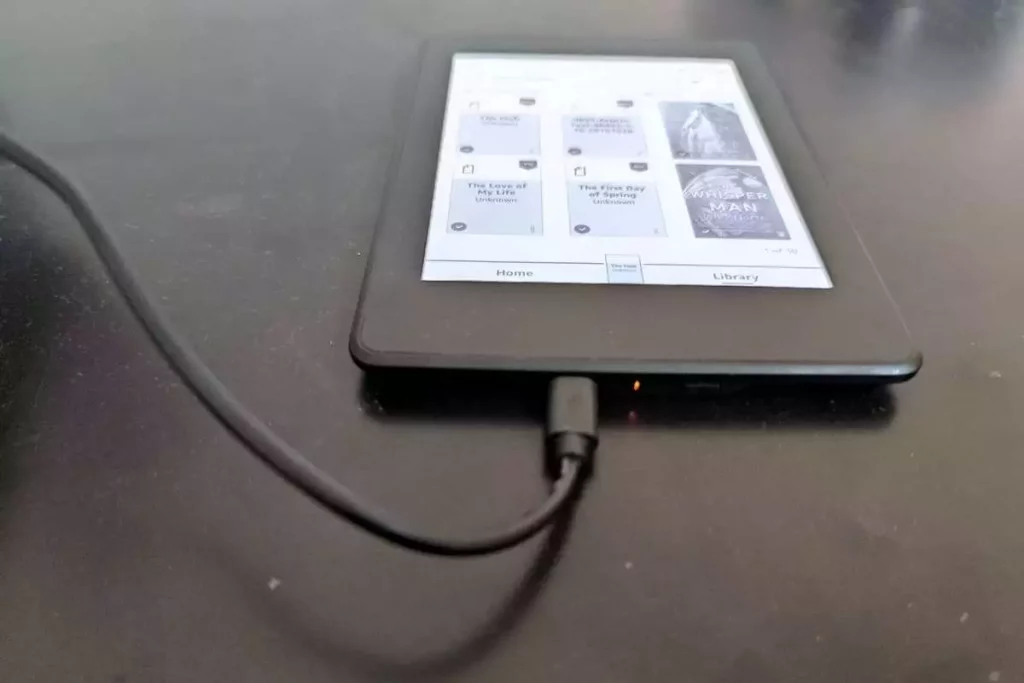
A tell-tale sign that the charging port of your Kindle is not working is that you won’t see the orange light battery charging indicator when you connect the charger to your Kindle.
[Note – this can also happen due to any of the previous factors mentioned. Thus, make sure you eradicate the possibility of the previous issues before you test the charging port.]
The only way to fix the charging port of your device is to take it to a repair workshop (unless you are an electrical engineer). It will cost you about $30-40 but you can get the charging port fixed.
Furthermore, if you see a blinking orange light (instead of no light at all), it basically means that there is some issue with the connection between the charger and Kindle.
If so, simply remove the charger from the charging port and the charging socket. After 10 seconds, insert the charge once again to see if it is charging. Repeat the process a couple of times and the error may be resolved.
Try changing the charging sockets. It has been observed that doing so can fix the issue in some cases.
How to Fix the Issue of Kindle Not Charging?
In addition to some of the tips that I have already mentioned in the previous sections, there are a few additional things that you can do. Let’s check it out!
1. Reboot Your Device
The first thing that I would recommend you do is reboot your Kindle.
Rebooting your device simply fixes up any software-related issues that may exist on your device. For instance, sometimes a Kindle battery can experience a battery sync issue. This problem can be easily eradicated when you restart your Kindle.
To reboot your traditional Kindle device, simply tap on the top part of the screen. Then, open the “Settings” menu. Next, click on the “Restart” option.
After a moment, your Kindle will undergo the rebooting process. Once the report is complete, try charging the device once again and see if the problem is fixed.
If you are using the Kindle Fire tab, then press and hold the power button for 10 seconds or so. A menu will appear on the screen. Simply click on the “Restart” option and your device will reboot.
2. Hard Reset Your Kindle
Sometimes, your Kindle screen might be stuck on a particular display error. For instance, when the battery of your Kindle goes too low to charge again, a battery icon with an exclamation mark will appear on the screen.
Furthermore, since the display is stuck on a particular screen, you may not be able to engage the reboot option on a traditional Kindle.
In such a scenario, you will need to do a hard reset to your Kindle.
To do so, simply press and hold the “power” button of a candle for 40 seconds or more. After some time, you will notice the Kindle display blinks for a moment. The Kindle may restart immediately thereafter.
In some cases, the Kindle refused to restart even after a hard reset. Simply repeat the process a few times and eventually, you will notice that the device will restart.
What might work better in some situations would be to put the Kindle on charge while doing the hard reset. This will ensure that your device has enough battery capacity to power through the hard reset.
3. Replace the Charging Cable and Adaptor
Another thing that you can do is to replace the charging cable and the power adaptor of your Kindle. Although we have discussed this point earlier in the article, it is important to stress the fact that using the original charging cable and adaptor can have a significant impact on ensuring that your Kindle continues to charge.
One thing to note here is that using an OEM Power Adaptor and the original USB charging cable from Amazon specifically meant for Kindle can impact the battery not just in the short term, but also extend the battery life!
In other words, if you use any unofficial chargers or charging cables, chances are that your battery won’t last all that long and eventually it will stop charging.
4. Replace Your Kindle Battery
Let’s face it, if the battery of your Kindle has lost the capacity to hold any charge, there is not a whole lot that you can do about it!
In such a scenario, one option that you can go with in order to fix the battery charging issue of your Kindle is to replace the battery of your device.
As I mentioned earlier, you can easily do this at home and it will cost you about $20-30. Just follow the step-by-step guide that I’ve covered in my other article “How to Replace the Kindle Battery”.
Alternatively, you can also pay a visit to a mobile repair workshop. It may set you back anywhere between $50 and $100. However, in that amount, you can actually easily buy a new Kindle!
5. Restore to Factory Default Settings
If you own a Kindle Fire Tablet, then one other thing that you can try is to restore the Kindle to factory default settings!
To restore your Kindle Fire to factory default settings, simply open the “Settings” menu (by clicking on the gear icon). Then, click the device options. Next, select the “Restore to Factory Defaults”, and finally press “Reset”.
Obviously, these steps can only be followed if your Kindle is switched on and it is not charging. If your device is switched off, you won’t be able to access the “Settings” menu directly. But, there is another way!
To restore your Kindle Fire Tab to factory default settings,
- Press and hold the “Power” button and the “Volume Down” button at the same time for about 10-15 seconds.
- You will notice a “System Recovery” screen appear. As soon as you see that, release the buttons immediately.
- Next, use the volume buttons to navigate and select the “Wipe data/factory reset” option.
- Once you arrive at the option, use the “Power” button to enable the option.
- Then, repeat the process to select “Yes – delete all user data” by pressing the combinations of the volume button and the power key.
The system on your device will reset the settings and reboot. Check to see if the device is now charging.
6. Contact Customer Service

If you are reading thus far in the article, chances are that the situation is still grim and none of the options mentioned above worked for you. If so, I’d love to hear from you in the comments of this article to know what happened!
That said, one of the last resorts, before you give up on your device, is to contact Amazon’s customer service for Kindle to see if they can provide any other solution that could solve the problem.
Although I have covered all the possible solutions that I encountered during the research. However, there is no harm in trying out your luck one last time!
7. Purchase a New Kindle
If nothing worked for you, then I feel really sorry that you will have to part ways with your Kindle.
At this point, I recommend that you buy a new Kindle. Kindle Paperwhite does the trick for most people, but if you are willing to spend a little bit extra money for marginal benefits, you could go with the Kindle Oasis or the Kindle Paperwhite Signature Edition!
These Kindles are not a whole lot different. I do plan to write a detailed guide on which Kindle to buy with a complete log of differences between the various models. And, when I do, I will leave a link in this section here.
One last thing before we sign off – once you buy a new Kindle, make sure to check out my other article on “how to transfer your books to your new Kindle!”. It will guide you through the complete steps answering all the common questions that you may have!

About the Author
Akansha is a former business journalist and a seasoned communications professional. She is the founder of TheBookBuff, an avid storyteller, and a lifelong biblophile! Check out her profile page to know more about Akansha.
![Is An Audiobook Faster Than Reading? [Here’s the Truth!]](https://thebookbuff.com/wp-content/uploads/2021/09/beautiful-woman-with-expressive-eyes-and-long-eyel-25J7QBD-optimized-300x200.webp)


![How to Create and Access Kindle Account? [Complete Guide!]](https://thebookbuff.com/wp-content/uploads/2021/11/kwame-anim-PJ3rjIfD__k-unsplash-optimized-300x200.webp)