Kindle Won’t Turn On? Here’s What to Do! [Full Guide]
Disclosure: This post may contain affiliate links. – meaning I may get a commission if you decide to purchase through my links, at no additional cost to you.
As Kindle owners, we know how valuable our Kindle is to us. And, we realize the value even more especially when the Kindle refuses to turn on when we are bored and we need it the most! I know that feeling as I’ve been through this exact same situation!
You might be tempted to panic. But, don’t worry, you don’t have to discard your Kindle just yet as there are ways in which you can fix your favorite device!
Since the Kindle didn’t turn on using the normal ways, I spent a lot of time researching ways to fix my Kindle. During this period I learned a lot about various reasons why Kindle might be dead!
So, in this article, I will share with you everything that I learned along the way, the reasons why your Kindle won’t turn on, and what you can do to fix this problem!
Let’s get started!
A Quick Note – If your Kindle doesn’t turn on despite the steps mentioned in this article, I’d recommend purchasing this Kindle version on Amazon as you get the most value-for-money with this model!
Why Won’t Your Kindle Turn On?
You might feel annoyed and frustrated as you stare at your Kindle wondering why it won’t switch on! As it turns out, there are a few simple reasons why this could happen.
Let’s take a look at them one by one –
1. Kindle Battery is Critically Low

One reason why your Kindle may not turn on is perhaps the Kindle battery is critically low on charge. This could happen if you have not used your Kindle for a long time or perhaps if you did not charge your kindle in time before the battery ran out!
A Kindle does not function as a smartphone. It does not turn off when the battery is low. As a result, when the Kindle is not charged, the battery goes below a certain threshold charge capacity that it just cannot restart showing the “battery is critical” error.
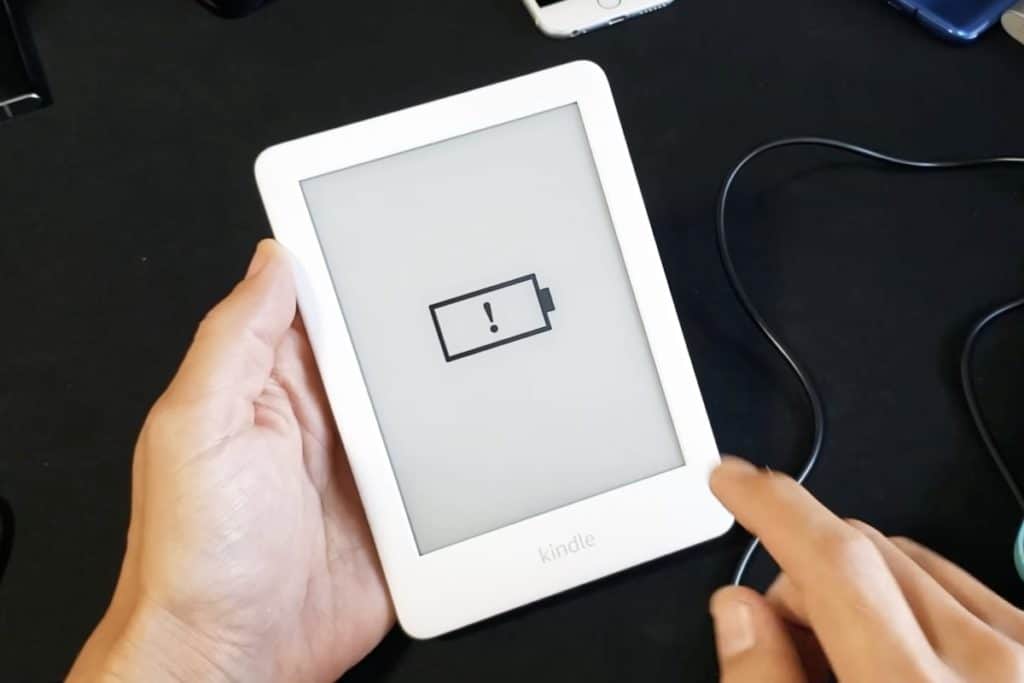
An easy way to know if this is the issue is that you will see this error displayed on the Kindle screen as shown in the image above.
If you are using one of the older Kindles, then you may see an error message stating something along the lines of “Kindle battery critically low, connect your Kindle to a charger”.
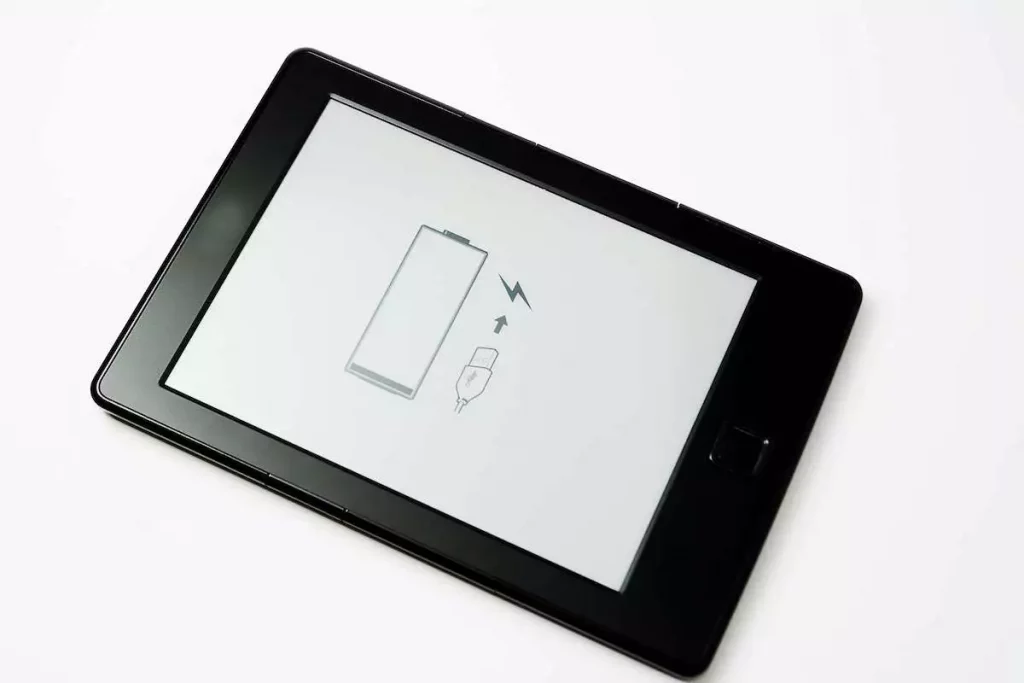
On some newer Kindle models, you will simply see a “Charger and a lightning bolt” icon underneath a “Low Battery” icon displayed on the Kindle screen (as shown in the image above).
In such a scenario, make sure that you charge your Kindle enough to power the device. Sometimes, your Kindle will still remain stuck on this screen even when the orange light indicator turns green indicating that the battery is fully charged.
If that’s the case, the solution to this problem is the same as that of the next reason in this list.
2. Kindle Screen Stuck on Battery Exclamation Mark
This is another reason why your Kindle simply refuses to turn on! For some users, the Kindle screen is stuck on the “Battery” icon with an “Exclamation Mark”.

The dreaded “Battery with Exclamation Mark” icon on a Kindle screen is seen when there is an issue with the charging parameters of the Kindle battery. It can also occur when the battery of the device is low.
The interesting thing is, contrary to traditional belief, the “Battery Exclamation Mark” icon can appear no matter your Kindle battery charge level! Furthermore, this error can prevent your Kindle from turning on even when it is plugged in and charging!
There are several detailed steps involved in fixing this issue. I’ve compiled all the steps in another article with a comprehensive step-by-step guide on how to fix a Kindle with a battery exclamation mark! Make sure to go through the article and follow all the steps to fix the issue.
3. Battery is Not Charging
This reason has an indirect correlation to why your Kindle won’t turn on!
Perhaps you have been using your Kindle frequently and you even remembered to charge it, but you may not have realized that the battery of your Kindle may not have been charging; eventually leading to a dead Kindle!
If your Kindle is not charging, it doesn’t necessarily mean that the battery needs to be replaced! There could be several factors involved in this problem.
For instance, maybe the charger or the charging cable is the problem!
I’ve written a detailed article on exactly this issue. Check out my other article that provides 8 reasons why your Kindle battery may not be charging with ways to fix those issues!
4. Battery Needs Replacement
One of the other reasons why your Kindle may not turn on is because there is some problem with your Kindle battery!
Like most modern-day devices, the battery of your Kindle also has a limited lifespan and it needs to be replaced if it can not hold any more charge!
How to Know if Your Kindle Battery Needs Replacing?
One way to know if your battery is not able to hold the charge and needs replacing is using the Kindle Orange Light indicator.
The orange light on the Kindle comes on when your Kindle is charging. It usually shows a steady orange light when charging normally.
If the Kindle battery has gone bad, you will see the orange light charge indicator blinking repeatedly (sometimes up to 5 times and then stop). This behavior of the orange light indicates that the Kindle battery has gone bad and needs to be replaced.
However, the only sure way to know if the battery is at fault is by opening the back panel and using a voltmeter to measure the battery capacity (voltage) of your Kindle battery. If it is abnormally low, it indicates that your battery needs to be replaced.
That being said, replacing a Kindle battery is not all that difficult. With the right tools, anyone can replace the Kindle battery at home within 15 to 20 minutes! Check out my other article on how to replace the Kindle battery. It guides you through the complete process and provides links to the tools required!
5. Hardware Issues
Another reason why your Kindle may not turn on is due to some hardware issue. Although rare, this can happen.
For instance, the connector that connects the battery to the motherboard may have come off or become loose (which can be easily fixed). Alternatively, there may be some other damage to the motherboard of the Kindle.
Any damage to the motherboard will usually warrant a visit to a mobile repair workshop.
6. Software Issues
The final reason why your Kindle won’t wake up is perhaps due to a software issue.
If you haven’t carried out a software update for your Kindle for a long time, it is possible that this may be the reason why your Kindle may have become a brick!
Although Kindles are designed to automatically check for updates and download the software as soon as you connect your device to the internet. So, the possibility of this happening is quite rare. But, it can happen.
It is best to reach out to Amazon’s Customer Service team and check with them if there is a way to update the software when the Kindle doesn’t start.
How to Fix Your Kindle When it Won’t Turn On?
Fortunately, there are ways in which you can at least attempt to fix your Kindle when it won’t turn on!
Let’s look at some of the ways in which you can try to turn on your Kindle!
1. Charge Your Kindle
As mentioned before, one possible reason why your Kindle may not be turning on is that the battery ran out of charge!
So, an easy fix to this problem is to charge the battery of your Kindle!
Make sure to charge your Kindle for at least a good couple of hours before trying to turn on your Kindle once again.
It is important to remember that charging a Kindle when its battery is completely drained out will take longer than usual. So, be patient if your Kindle doesn’t start initially. Furthermore, if your Kindle battery has been drained out cold, make sure to charge your Kindle using an official Amazon wall charger.
Charging your Kindle using a power adaptor instead of connecting it to your laptop will help speed up the charging process.
How to Know if Your Kindle is Charging When It Doesn’t Turn On?

It is important to know if your Kindle is charging especially when it is dead!
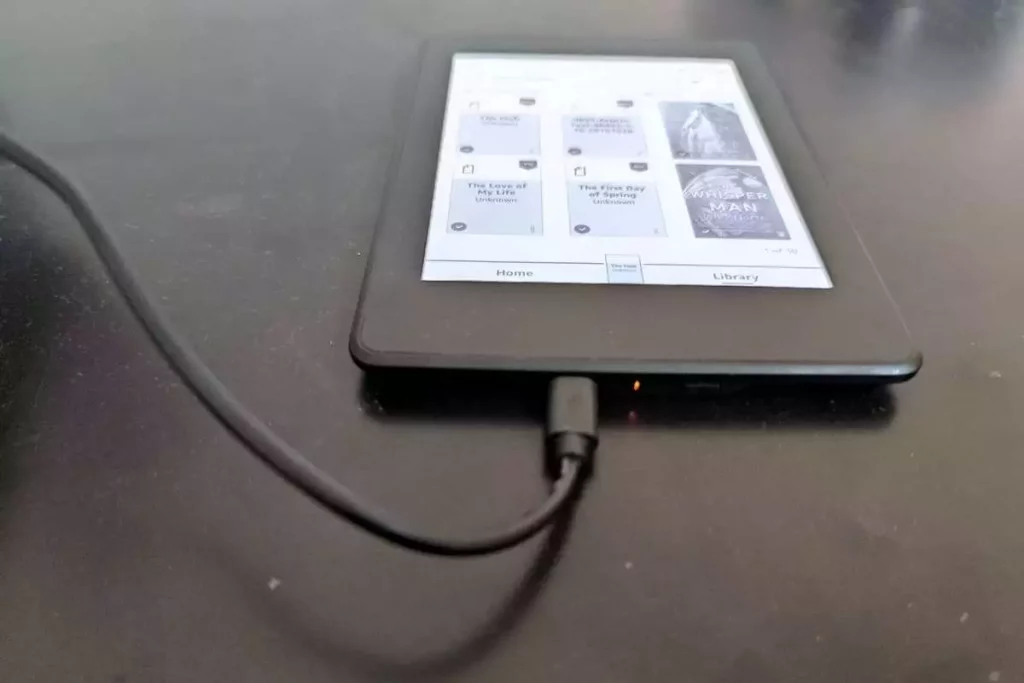
When your Kindle is charging, you will see an “Orange Light” next to the charging port indicating that charging is in progress. This happens even when your Kindle is dead or won’t turn on.
So, the “Orange Light” is a great indicator of whether or not your Kindle is charging regardless of whether your Kindle is on or switched off!
To know more, check out my detailed article on the “Kindle Orange Light” indicator and how to decode the various signals given by this light to troubleshoot issues with your Kindle!
2. Hard Reset Your Kindle
Sometimes, despite charging your Kindle for several hours, it simply refuses to turn on as it may be stuck on the “Kindle Battery Critical” screen!
In such a scenario, you will need to try and do a “Hard Reset” on your device.
Here’s how it works –
- Connect your Kindle to a USB port of a computer. This step is important.
- You will notice the “Orange Light” charging indicator appears. This indicates that the Kindle battery is charging.
- Now, press and hold the “Power” button of your Kindle for 40 seconds. Count till 40 and release the power button. You will notice that the Kindle screen will blink once.
- Now, press the “Power” button once again to see if there is any response.
- If your Kindle still remains stuck on the battery with an exclamation mark screen, leave your Kindle for about 20 to 30 minutes on charging from the USB port of a computer.
- After about 20 to 30 minutes, repeat steps 3 and 4.
- If your Kindle screen is still stuck, repeat steps 5 and 6 a few times.
Usually, you will notice that the Kindle will either automatically start after about 20 minutes of charging via the USB port of a computer, or doing the “Hard reset” will do the trick.
Here’s a helpful video that explains the steps mentioned above in a detailed manner!
3. Unplug and Reconnect the Battery from the Motherboard!
Sometimes, no matter what you do, your Kindle just won’t turn on despite everything functioning properly in its individual capacity!
One of the scenarios that the Kindle faces are the change in the charging parameters of the battery. The only way to fix this is to reset the battery. And, while “Hard Reset” is designed to do exactly that, the problem with that method is it takes multiple attempts and you may not get it completely correctly most of the time.
A better way to reset the battery is to simply unplug it from the motherboard and connect it back after 10 seconds.
This may sound harder than you think it is! But, here’s how you can implement this easily at home.
- Get hold of a prying tool (like this one on Amazon)
- Also, make sure you have a Philip Screwdriver #0 handy (links to Amazon)
- Follow the detailed steps described in my other article to open the back of your panel of the Kindle
- Disconnect the battery from the board
- Now, simply reconnect the battery back to the board (instead of replacing the battery as described in my other article)
- Press the “Power” button to see if the Kindle is working
- If your Kindle starts working, simply close the back of the Kindle using the panel!
4. Replace the Battery
If your Kindle still doesn’t work despite doing all the steps mentioned above, it basically means that your Kindle battery is not working anymore!
I’ve written a detailed guide on how to replace your Kindle battery in the comfort of your home within 15 to 20 minutes! Simply follow the steps in my other article to replace the Kindle battery.
5. Contact Customer Service
Finally, before you discard your Kindle for a new one, make sure to reach out to Amazon’s customer support team to check with them if anything else can be done.
If you do decide to ditch your Kindle and buy a new one, I’d recommend purchasing the latest version of Kindle Paperwhite on Amazon.
Credit to Adrienne Andersen (on Pexels) for the featured image of this article

About the Author
Akansha is a former business journalist and a seasoned communications professional. She is the founder of TheBookBuff, an avid storyteller, and a lifelong biblophile! Check out her profile page to know more about Akansha.

![What is Kindle Unlimited? [Complete Beginner’s Guide!]](https://thebookbuff.com/wp-content/uploads/2022/11/kindle-ged357f594_1920.jpeg-optimized-300x200.jpeg)
![Can Kindle Battery be Replaced? – Here’s How! [Full Guide]](https://thebookbuff.com/wp-content/uploads/2022/04/pexels-dan-cristian-pădureț-1476321-300x200.webp)
![How to Read Kindle Books on Android? [Beginner’s Guide!]](https://thebookbuff.com/wp-content/uploads/2022/11/smiling-asian-woman-reading-text-message-on-cell-p-2022-11-23-18-00-48-utc-300x200.jpeg)
![[Verified] Here’s How to Contact Amazon Customer Service!](https://thebookbuff.com/wp-content/uploads/2021/11/christian-wiediger-rymh7EZPqRs-unsplash-optimized-300x200.webp)
![Why Do People Dislike Reading? [How to Get them Hooked!]](https://thebookbuff.com/wp-content/uploads/2021/09/photo-of-caucasian-furious-girl-grabbing-her-head-ZNLTGUK-optimized-300x200.jpeg)
![How to Transfer Books from Kindle to Computer? [And Back!]](https://thebookbuff.com/wp-content/uploads/2021/11/pexels-adrienne-andersen-2237795-300x200.webp)