Kindle Battery Exclamation Mark! [Meaning & How to Fix!]
Disclosure: This post may contain affiliate links. – meaning I may get a commission if you decide to purchase through my links, at no additional cost to you.
It is really scary when you see a battery icon with an exclamation mark on your Kindle screen and you don’t know what it means or what to do!
The battery icon with an exclamation mark on the Kindle screen usually means that either the battery is extremely low on charge or there is a connectivity issue with the battery and the device.
However, this problem can be fixed and you don’t need to throw away your Kindle!
In this article, I’ll walk you through step-by-step what you need to do and how to fix the issue of “Battery Icon with Exclamation Mark” on the Kindle!
So, let’s get started!
A Quick Note – If your Kindle doesn’t start (as unfortunate as it is) and you need to purchase a new Kindle, I’d recommend this Kindle version on Amazon as you get the most value-for-money with this model!
Why Does the Kindle Battery Exclamation Mark Appear?
Let us first understand what the battery exclamation mark means and why it appears in further detail.
The battery icon with an exclamation mark appears when there is an issue with the charging parameters of the device. Your Kindle can display this screen even when the battery is somewhat charged!
There are really two instances when this Kindle error appears.
1. Kindle Battery is Low

The first instance is when your Kindle battery is too low. This can happen if you haven’t used your device for a long time or if you haven’t charged your device before the battery went all the way down to “0%”.
Generally speaking, when this error appears due to a low battery, you will get what’s called a “Kindle Critical Battery” error and you will get a message displayed on your screen something along the lines of “Battery is too low, connect to the charger to continue using Kindle”
2. Kindle Battery Error
Another instance when you get this type of error on your Kindle is when there is some kind of a problem with the Kindle battery connection or charging parameters!
So, this type of error can occur even when your Kindle battery is not very low but has some charge on it.
Either way, the method to fix the Kindle with battery and the exclamation mark is the same. Let’s take a look at it.
How to Fix the Kindle Battery with Exclamation Mark Error?
Irrespective of whether you have a Kindle Paperwhite or any other Kindle version, here’s what you need to do in order to get rid of the Kindle battery with an exclamation mark error and go back to the library screen!
One thing to note – fixing this error requires a lot of perseverance and patience. So, just be patient, don’t give up, and follow all the steps described below in detail.
1. Charge Your Kindle
Make sure that there is enough charge on your Kindle battery in order to power it on.
One thing to note is that when the Kindle battery becomes too low, it does take much longer initially to get enough charge. So, keep your device plugged into a wall adapter for an hour or two.
If this error occurred due to a low battery, your Kindle will automatically start working once the battery has enough power.
If you have left your Kindle charging for a long time and yet it seems to be stuck on the “Battery with an exclamation mark” screen, then it is time to move on to the next steps.
2. Force Reset Your Kindle
Here are the steps that you will need to take in order to do a force reset to your Kindle and get rid of the battery exclamation mark error on your Kindle –
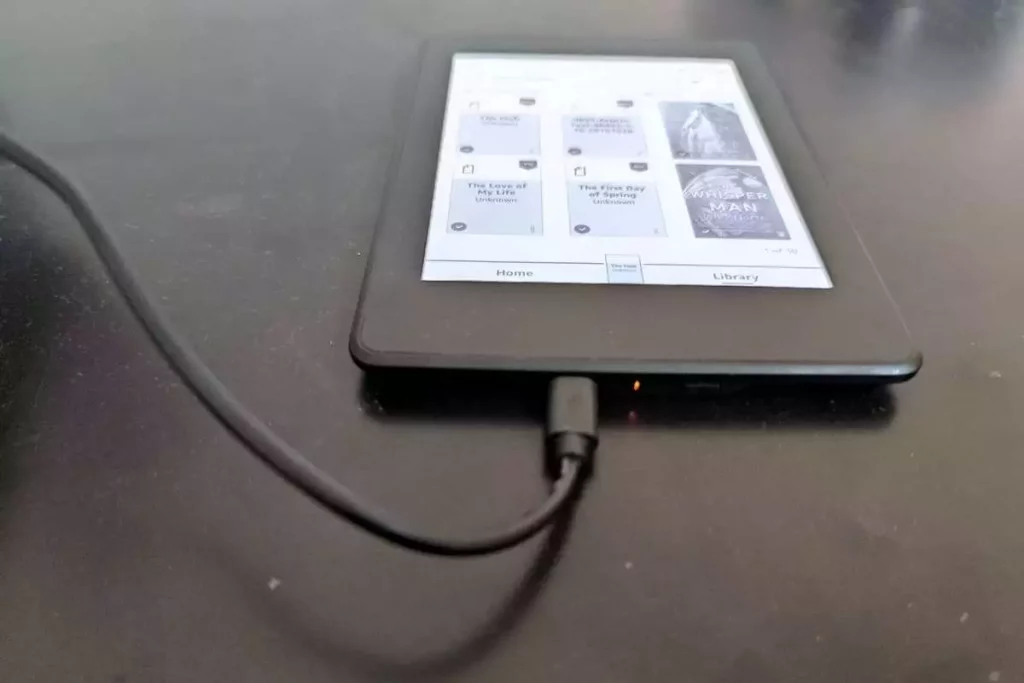
- Connect your Kindle to a USB port of a computer. This step is important.
- You will notice the “Orange Light” charging indicator appears. This indicates that the Kindle battery is charging.
- Now, press and hold the “Power” button of your Kindle for 40 seconds. Count till 40 and release the power button. You will notice that the Kindle screen will blink once.
- Now, press the “Power” button once again to see if there is any response.
- If your Kindle still remains stuck on the battery with an exclamation mark screen, leave your Kindle for about 20 to 30 minutes on charging from the USB port of a computer.
- After about 20 to 30 minutes, repeat steps 3 and 4.
- If your Kindle screen is still stuck, repeat steps 5 and 6 a few times.
Usually, you will notice that the Kindle will either automatically start after about 20 minutes of charging via the USB port of a computer, or doing the “Hard reset” will do the trick.
Here’s a helpful video that explains the steps mentioned above in a detailed manner!
3. Disconnect and Reconnect the Battery from the Motherboard
If none of the previously mentioned methods work for you, then you’ll have to get your hands dirty and pop open the back of your Kindle.
It is important to note that this method is sort of a last-ditched effort at fixing the Kindle stuck on the “battery with an exclamation mark” screen. Follow this method only if your Kindle is out of warranty!
If your Kindle is still in warranty, reach out to the Amazon Customer Service team and check with them for the next steps. Else, continue with the steps below.
Although this method may sound terribly difficult, it is actually quite simple. Here’s what you need to do –
- Get hold of a prying tool (like this one on Amazon)
- Also, make sure you have a Philip Screwdriver #0 (links to Amazon) handy
- Follow the detailed steps described in my other article to open the back of your panel of the Kindle
- Disconnect the battery from the board
- Now, simply reconnect the battery back to the board (instead of replacing the battery as described in my other article)
- Press the “Power” button to see if the Kindle is working
- If your Kindle starts working, simply close the back of the Kindle using the panel!
If your Kindle still doesn’t work, it basically means that your Kindle battery is not working anymore! If so, simply follow the steps in my other article to replace the Kindle battery.
How to Charge a Kindle When the Battery is Dead?
Charging a Kindle with a dead battery works just the same way as charging a Kindle under normal circumstances. Make sure that you connect the USB cable to the power adaptor on one end and the charging port of the Kindle on the other.
If your Kindle is not charging, there could several reasons why this could happen. Make sure you check out my other article that provides 8 reasons why a Kindle may not charge and how to fix those issues!
How to Know if the Battery is Charging When Kindle is Dead?
When your Kindle is dead or stuck on the battery with exclamation error screen, you won’t be able to see the “Lightning Bolt” icon on the battery as you usually would under normal circumstances when your Kindle is switched on.
The only way to tell if your battery is charging when your Kindle is dead is the “Orange Light” charging indicator. Make sure that the orange light appears continuously and doesn’t blink or disappear.
If this happens, there could other issues that you may need to fix first. Check out my complete guide on the various signals given by the orange light charge indicator and how to troubleshoot them!
How Long Does it Take to Charge a Dead Kindle?
If your Kindle battery is completely out of charge, it will usually take longer than usual charging times. Typically, it takes about 30 minutes to an hour for a Kindle battery to recover from a state of deep discharge and reach about 10% charge capacity.
However, this duration can vary based on the charging mode used to charge the Kindle battery. In other words, your Kindle battery will take longer to charge when connected to a PC as compared to a wall outlet.
Check out my other article that provides full detail on how long a Kindle takes to charge!
More Kindle Battery or Charging Related Articles to Read
Check out some of the other articles that you might be interested in related to the Kindle battery and charging a Kindle!
- Reasons Why Your Kindle is Not Charging [With Solutions!]
- How Long Does Kindle Take to Charge? [We Tested It Out!]
- Kindle Battery Draining Fast! [Here’s What to Do!]
- Kindle Charging Slowly [Here’s How to Fix it!]
- Can Kindle Battery be Replaced! [Complete Step-by-Step Guide!]
- What Charger Should You Use For Your Kindle?
- Does Kindle Come With a Charger? [Here’s What You Should Know!]

About the Author
Akansha is a former business journalist and a seasoned communications professional. She is the founder of TheBookBuff, an avid storyteller, and a lifelong biblophile! Check out her profile page to know more about Akansha.


![Kindle Unlimited Benefits & Drawbacks [Complete Guide!]](https://thebookbuff.com/wp-content/uploads/2021/10/kindle-e-reader_t20_xROJpQ-optimized-300x200.webp)
![Difference Between Kindle and Tablet? [Complete Guide!]](https://thebookbuff.com/wp-content/uploads/2022/06/Charging-Kindle-and-iPad-Tablet-300x225.webp)